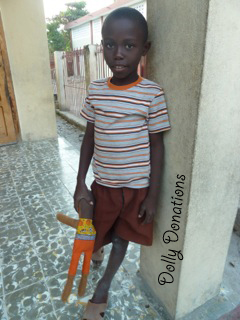
How to Make Boy Doll Shorts - Free Pattern
Wednesday, March 3, 2010
This fabulous pattern was donated by Melinda of Peppermint Grove. I hope my little doodle drawings do it justice!
Click here for the PDF Pattern!
From your first fabric cut two Boy Shirts. From your second fabric cut two each of the Shorts Top and Short Legs.
From your first fabric cut two Boy Shirts. From your second fabric cut two each of the Shorts Top and Short Legs.
Sew a Shorts Top to the bottom of each of your Boy Shirts using a 1/4" seam allowance (1). Attach the head and arms, and stuff per the dolly pattern instructions.
Fold under 1/4" on one long side of your Short Legs toward the wrong side of the fabric and press. Fold over another 1/4" and press again (2). Flip over to the right side of your fabric & sew close to the edge along the folded side (3).
Flip back over to the wrong side of the Short Leg. Fold in half, matching the two short edges of your fabric piece and sew along this edge with a 1/4" seam allowance (4). Turn right side out and slide over a stuffed doll leg, placing the seam toward the inside of the leg and the leg toward the center of the short leg. Match the raw edges of the Short Leg with the doll leg (5).
Repeat with the second Short Leg and doll leg.
Pinch the bottom of the Shorts Top the same as the boy body in the normal doll pattern to create a 1/4" seam. Pin the short legs with the legs inside them on each end of boy body (shirt and shorts top). Sew straight across and finish exactly as you would with the normal doll pattern.
Thanks Melinda, and Happy Sewing!


